Steve has kindly written another F3a related post. If you’ve not read the previous one you may want to do so first.
This time he continues talking about F3A and covers the BJ Craft Advantage (the one we skipped last time!).
My favourite quote in this article is
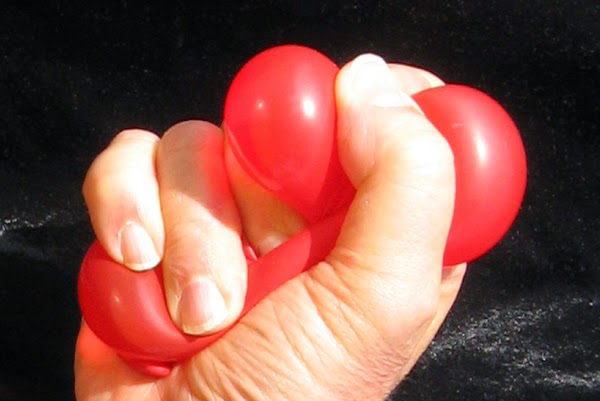
…like squeezing a balloon, you will always get a bulge wherever you squeeze it.
read on to find out what Steve is referring too!
Enjoy, Matt
F3A 2021………PART 2
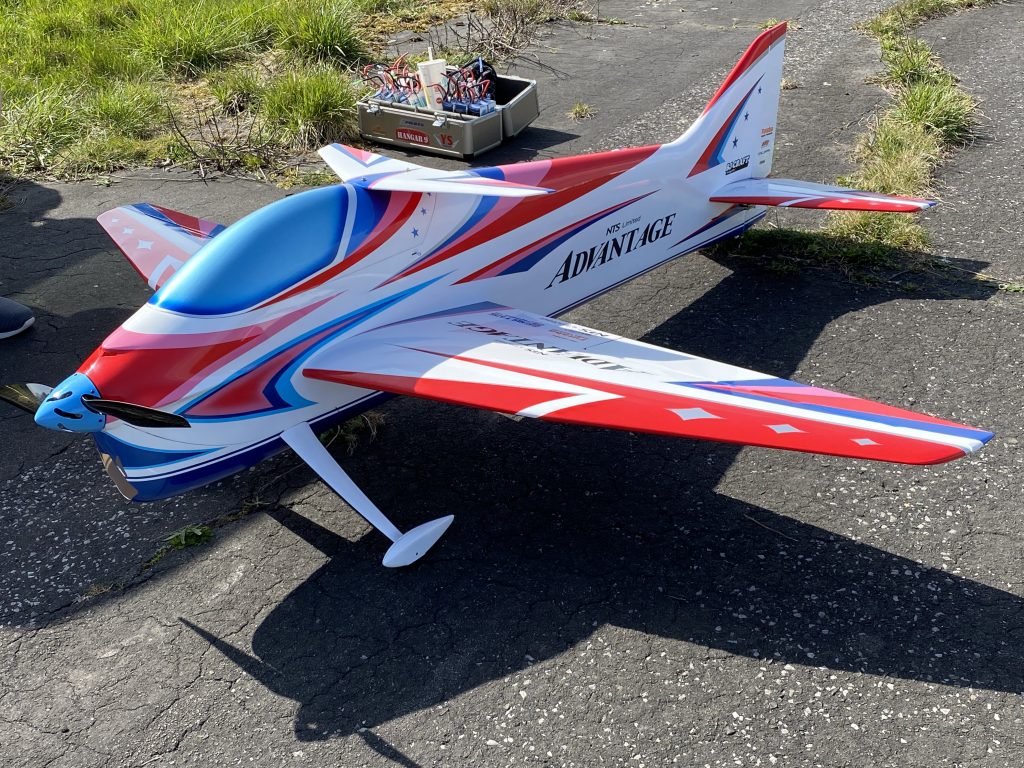
BJ Craft Advantage comes from a Chinese manufacture who has specialised in F3a models for some years now. The models are of good quality for what you pay, with an adequate finish to the fuselage and film covered wing, tail and rudder.
The Advantage is a Naruke design, the most famous Japanese model designer and X-world champion of years past. His model designs are fairly basic, he then makes small progressive tweaks to the models to improve them. Small steps for the bigger result later, unlike some models we have spoken about before.
The model is made by BJ Craft as a cheaper version of the hui yang/nts naruke tech services line of models that tip the scale at big money, the cost of a small car!!
In flight there will not be a great deal of difference, just the prestige of owning one of these hui yang models or naruke models. I would say hui yang models weigh the top end of the 5k limit where a BJ Craft will be about 4800g, so I know the one I would choose. Don’t forget F3a has a strict weight restriction!
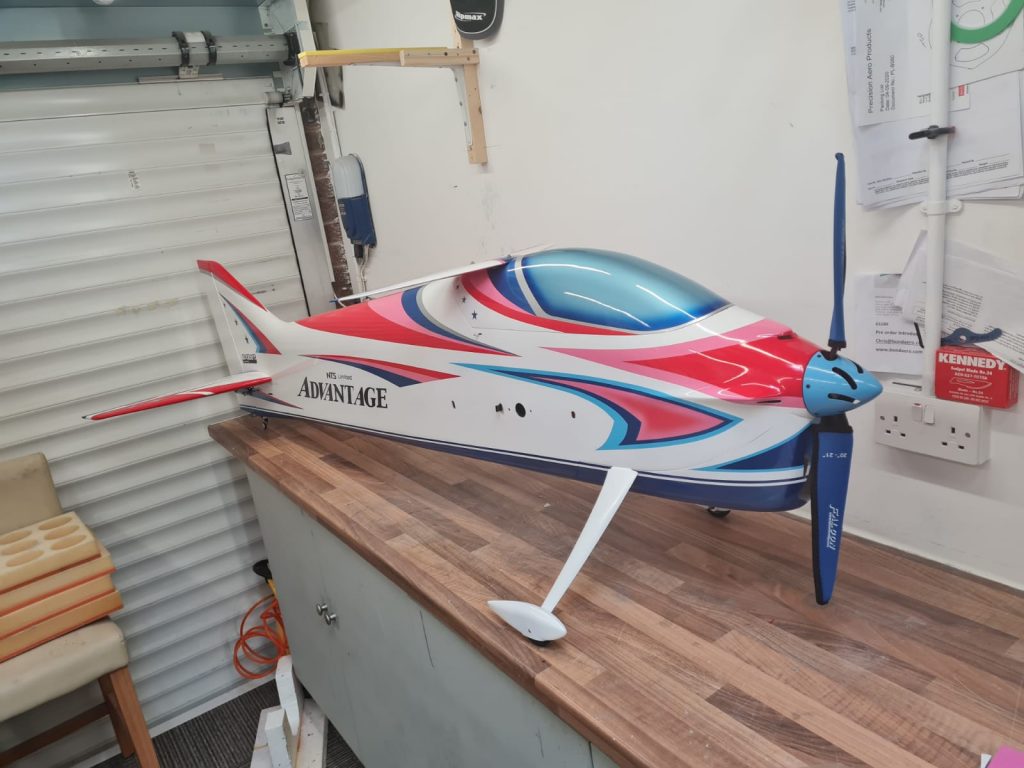
This model was a quick infill model when I decided to order the Skyleaf, which had a 3 month wait. When the model turned up I was impressed with the great quality film (covering), it’s some of the best I have seen applied to a model. Fuselage was equal to to the wings. My only issue would be possibly a bit more clear spray over the paint. For the sake of an extra 20 grams, it sure would have shined and made a difference. On average to clear coat a fuselage of this size it takes 65-70grams of clear coat.
However I decided to respray the canopy blue as this colour works for me in the air, however most models now have the metallic blue on the canopy now. With a minimal weight put on to the canopy, most F3A models will always need the weight at the nose due to the long moment arm in the fuselage, and 2 mini servos in the tail planes and even one servo on the rudder at the rear end, so a little paint and clear won’t do any harm.
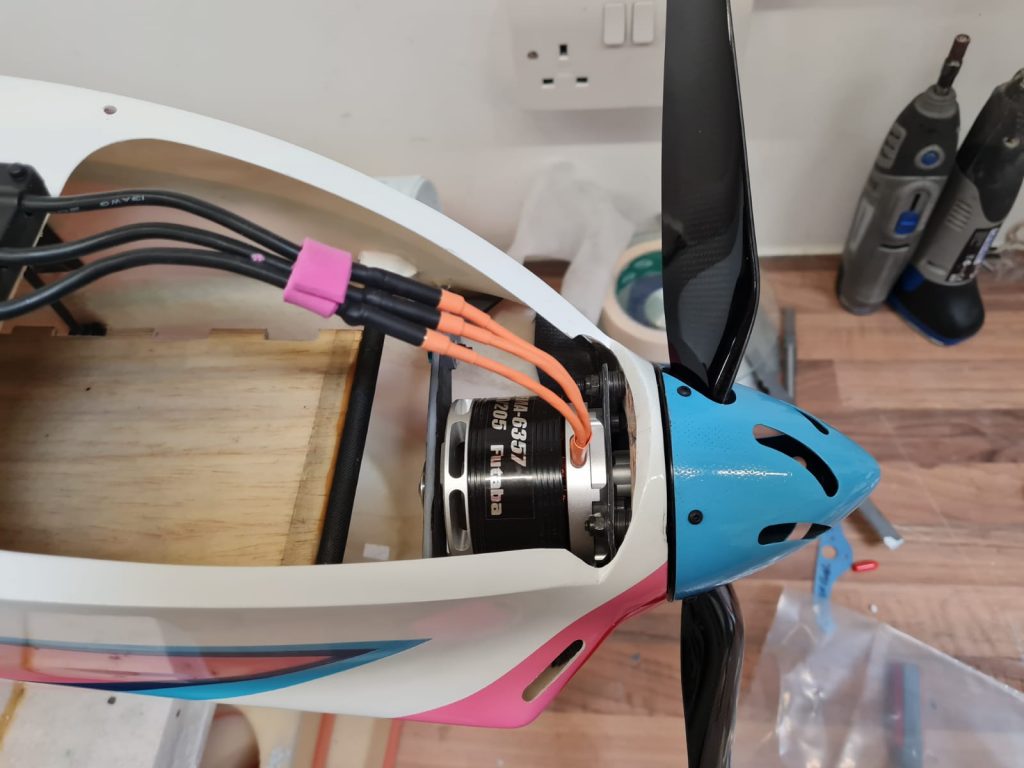
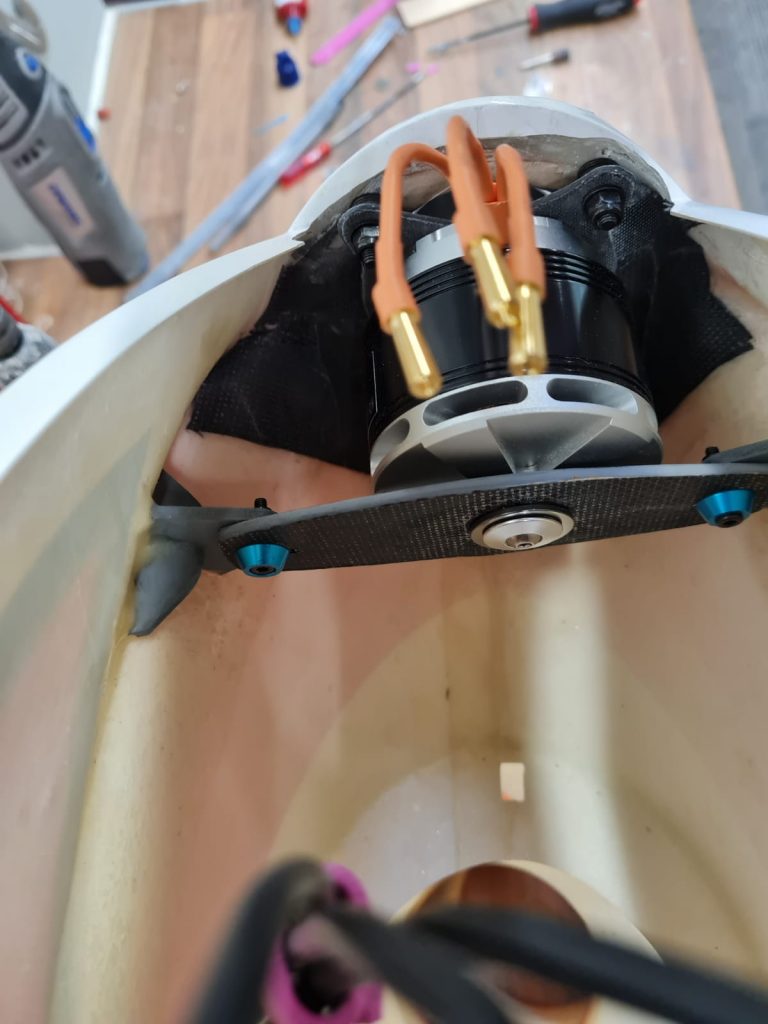
Motor I have chosen to use in the model is the latest futaba outrunner motor, similar to the dualsky F3a motor available over the counter, so no contra on this model. This was to make it a “cheaper” fill in plane. I chose the 21×14 carbon falcon prop, very light and strong. The OS ESC to match the motor and Futaba sBus servos used all round as usual. Powerbox digi switch for the RX, these are great electronic switches. Well worth a look on any model and wont break the bank.
Ok, the model is now complete and now its time to set incidence of this this model. With the Advantage we have a fixed tail plane position so we cannot alter the incidence. You therefore can take the tail as zero deg, this means we lift the back of the model up and put a incidence meter on the model and raise it till the tail shows zero on the meter. Make sense? That was the easy bit! du-bro make a great incidence meter to check these positions.
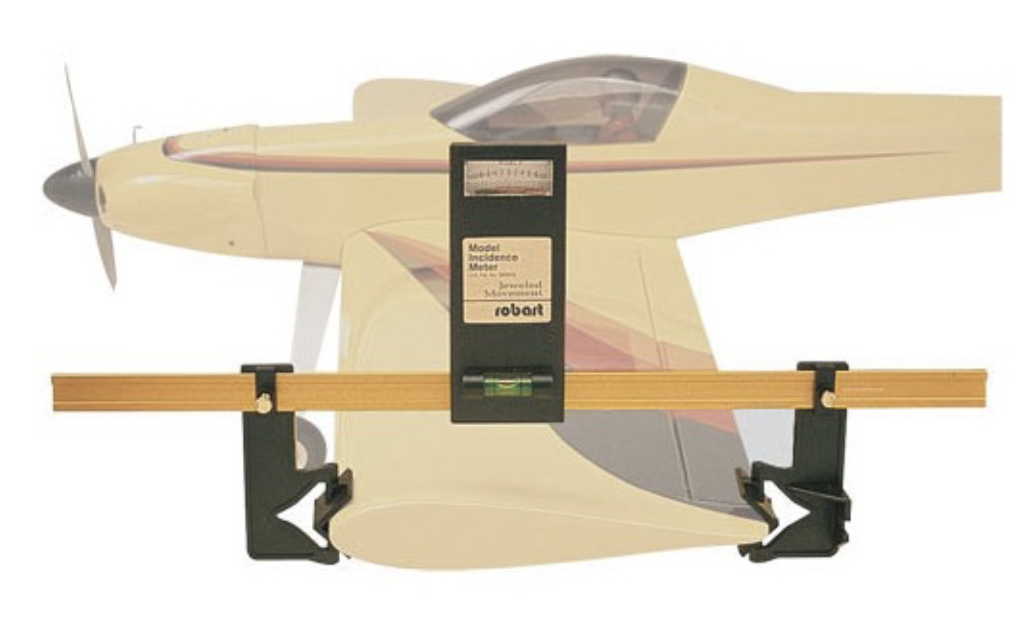
Most pattern models run plus 0.1 deg positive on the main wing and zero on the tail. If you have a canny on top of the the fuselage set this at 0.1 deg positive also. After chatting to a few of my Japanese facebook’ers who fly this model they have all set the model to 0.8 deg positive. I decided to take a punt on them settings and try it!.
The wings have incidence adjusters in the fuselage so a few tweaks and we have the wing set to the correct incidence, zero tail , canny now at 0.8deg also. So far so good.

Centre of gravity also plays a big part of trimming the model. I have always found a forward C of G is the best, even when club members set the C of G to the instructions of a model, I would say 90% are WRONG! As the back end is hanging down in flight! They say well that’s what the instructions say!
A good example was my Pavana I used the C of G recommended and it was ok but did not feel locked in so I kept moving it forward until it felt right in the air. Don’t be afraid to make changes, you wouldn’t drive your car with the seat in the wrong position! A small tweak of the C of G can transform any model.
Back to the Advantage, the C of G of this model is just in front of the main wing tube. Generally 30% of the wing chord the thickest part of the wing generally works out ok within the pattern model world.
Battery tray fitted in the position so I can move the battery forward or back on the tray. You never really know until you fly the model. First flights on this model were uneventful as always, within the first flight the model was sitting back end low in straight flight. The battery needed to be moved forward, more right thrust required and a bit of down thrust. Remember we’re back on a normal motor and prop set up. This model is super quiet with the OS motor, the silent model.
Changes were made to the battery position on the field until we had the model flying straight with no elevator trim. The ailerons did not require any trim. A few tweaks were made to roll movement and elevator movement. Rudder was very powerful so a fair bit of expo was put in on this setting.
Back on the bench more right thrust was added and down thrust, more than what shows on the front of the model, this is generally normal. After another flight the model was tracking dead straight going up in the verticals and presented very well in the air. So how did the wing incidence effect the model? With a series of checks I do to trim the model in knife edge flight, both directions, left and right.
I was happy the model needed very little mixing to keep it in a straight line. This was good so knowing what that had presented I knew that on a down line I would need a down mix. This would be about 2.5% mix to keep the nose down on a vertical, as I thought it did.
You may ask why have that mix? You can move the wing to push the nose down and take the down mix out, yes correct! However that then throws the knife edge mixing out and you may have a lot more high percentage of mix’s going on within the model.
It’s like squeezing a balloon, you will always get a bulge wherever you squeeze it. Just finding the balance of a few small mixers to sort the issues out without compromising the whole of the model. Sometimes you have to live with them. Most pattern models carry mixes on them and they are so small you forget they are running within the model.
After 25 flights on the model I can say, this is a great model to fly and presents very well in the air. The biggest difference is the speed of the model with the single prop motor set up. The Advantage like’s to fly at a steady pace but faster than a model with a contra. I would not use it at a competition as I prefer the pace of the contra power setup.
However this is a very capable model and is a joy to fly. I will continue to fly this model through the winter months just to practise the new schedules, and really to fly this model more. I believe this model with a contra set up would be a very good choice of model for any pilot club flyer to competition pilots. The model is not very well known at the moment but I’m sure you will see it a lot more up the flying field.
So overall a busy year building and flying, and we never stop learning in this ever growing hobby.
As my dad would say, every day is a school day!! 🙂
Cheers, Steve.


0 Comments