Another great article from Steve.
I’ve used the ‘Skunk works repairs’ service when I accidentally misjudged my landing approach and took the undercarriage out of my F3a Elementary. Once I stopped crying Steve booked it into Skunk Works and it’s now as good as new!
Enjoy the article below, Matt
Pattern models are built for lightness and its inevitable that at some point they will incur some damage on these aircraft. Generally 90% of the times its undercarriage related due to landing of the patch or just getting it wrong on the day.
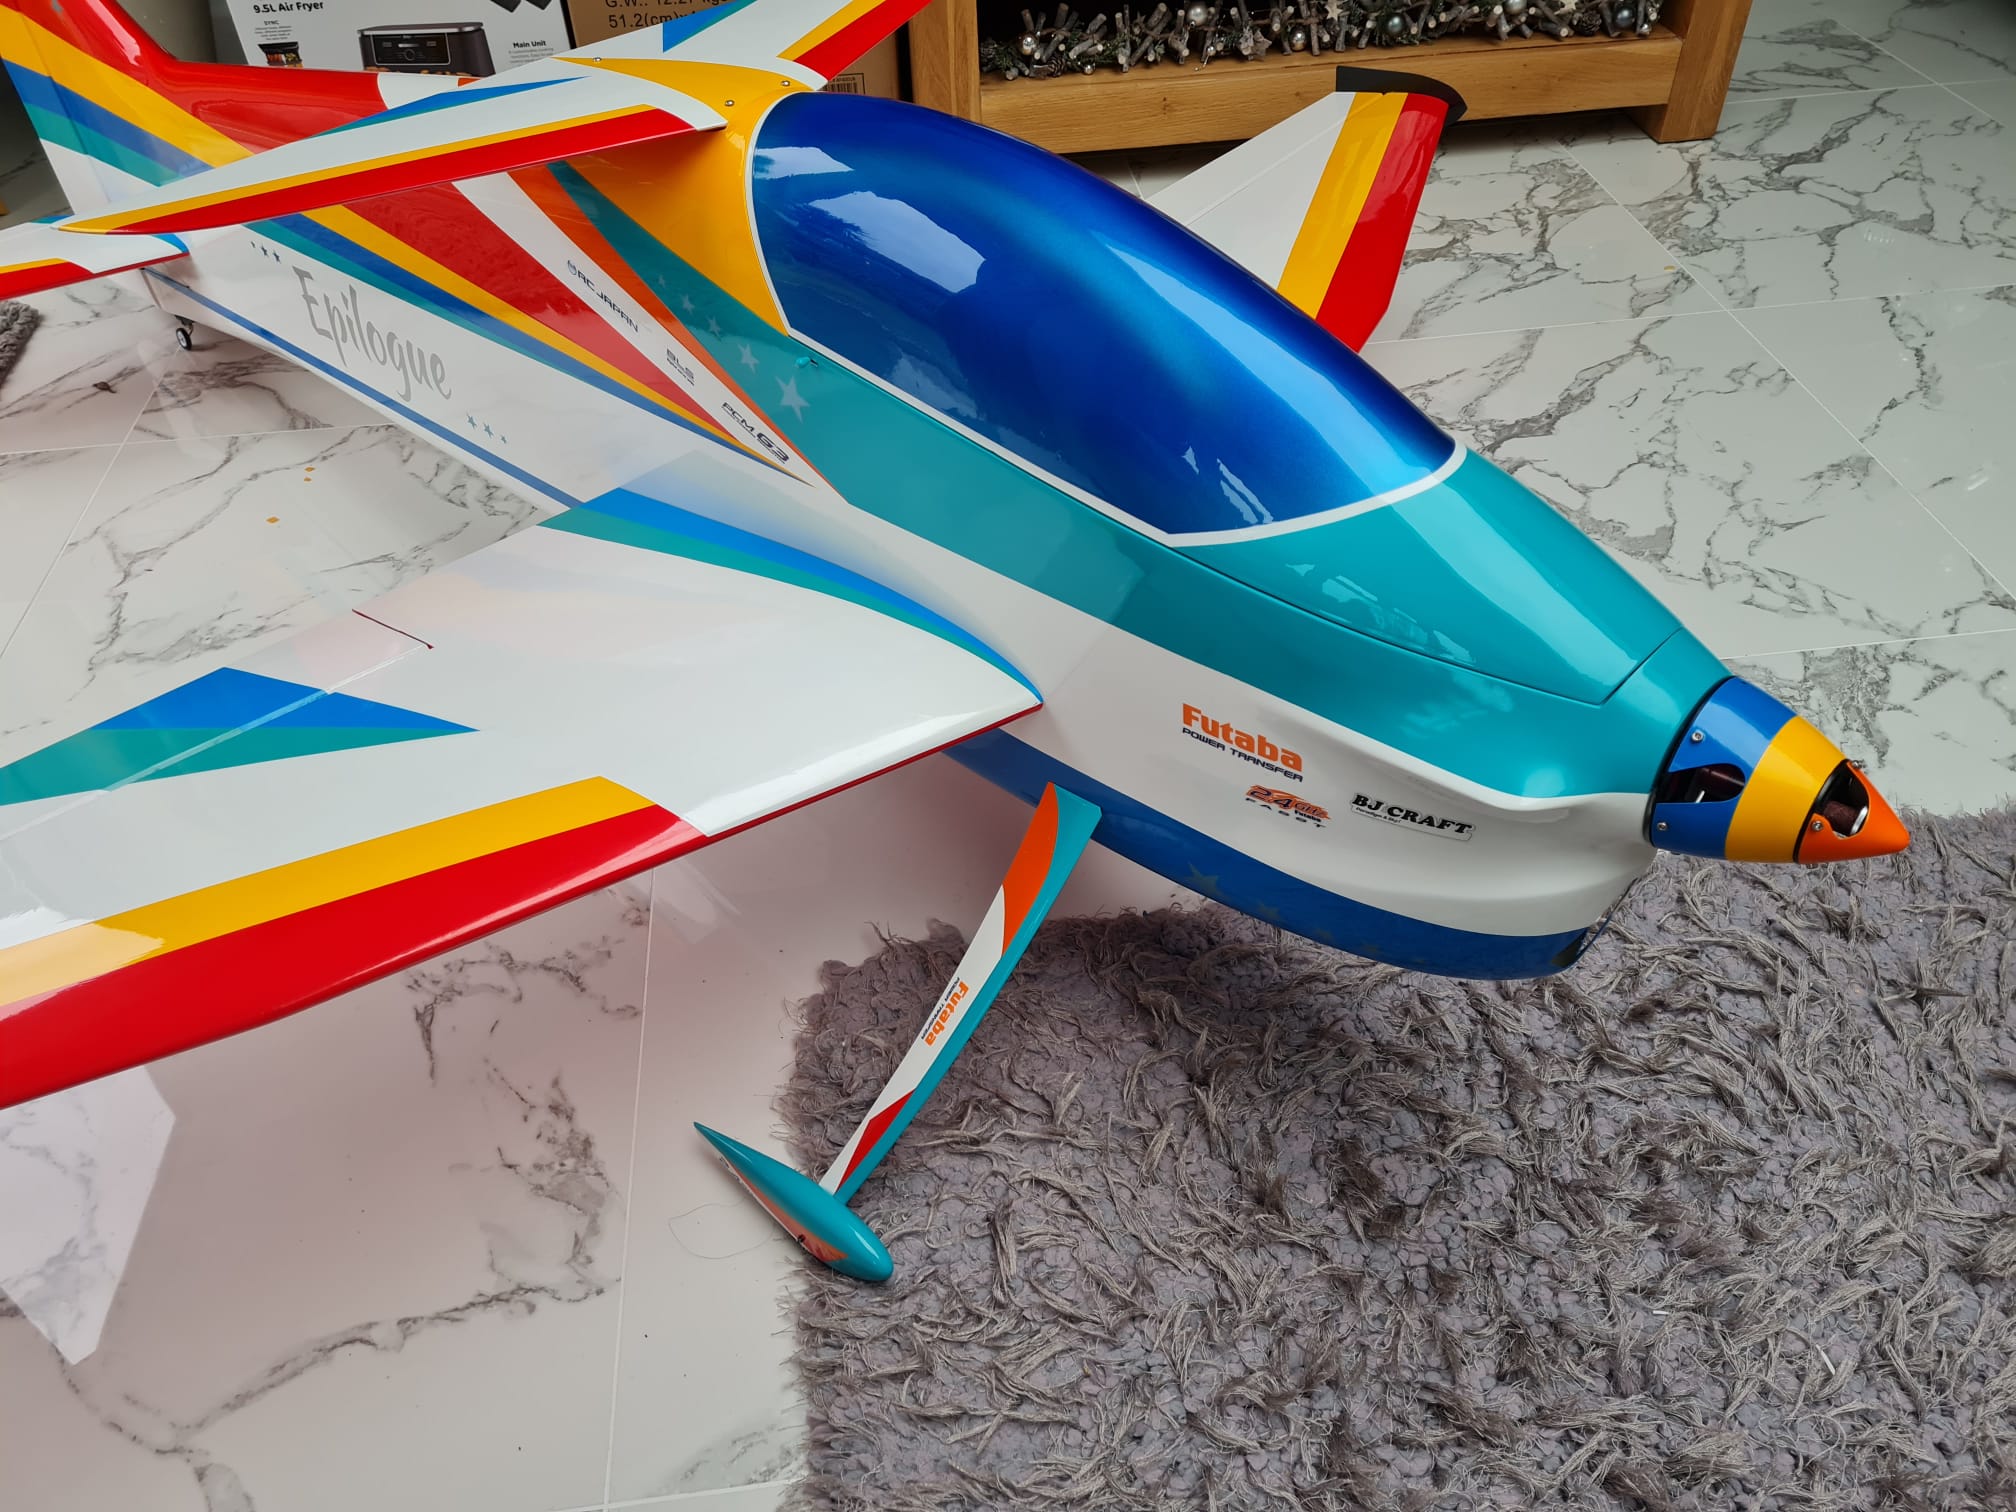
The repair this time is for a BJ Craft Leader biplane, this one is before my leader `g` so there are a few differences to say the least. However this one has come to the shop for a paint job after a bad landing. The person has repaired it structurally, and now wants the model to shine again, no one wants an ugly betty on the door step.
Sourcing
So the first thing we do before commencing the work is to source the colours required, easy hey I wish! The trouble with most manufactures in China the paint can be anything which can lead to compatibility issues. With different paints some can react and give a nice pickle on the edge, not great I have had this and it takes time to sought out.
First thing to do is contact the manufacturer for a paint code, hopefully they may have one which you can then take to your local paint supplier and they can mix it for you. Unfortunately the supplier told me go to your local paint shop! (In very broken English)
A good paint shop will match paints, and they will charge extra for this, so additional cost is added into the final price. If it was that easy the models would not be coming into the shop for work.
After a trip to my new found paint shop in Southampton, they matched the paint for me, dark blue and sky blue I call it. These paints do not have codes as they are matched colours so bespoke to this model now. Expect to pay over £40 pounds for two colours, this is before we even start the job.
Most people would just leave the odd crack or damage, however this would considerably drop the sale price of the model.
The repair
So let’s get started on the repair.
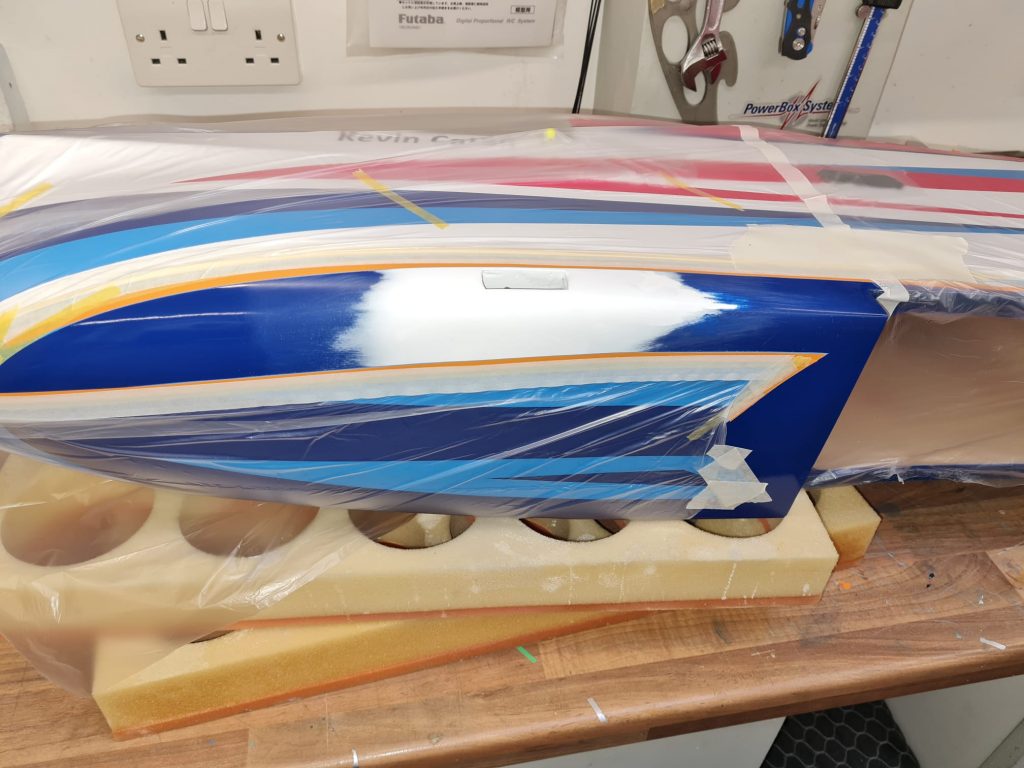
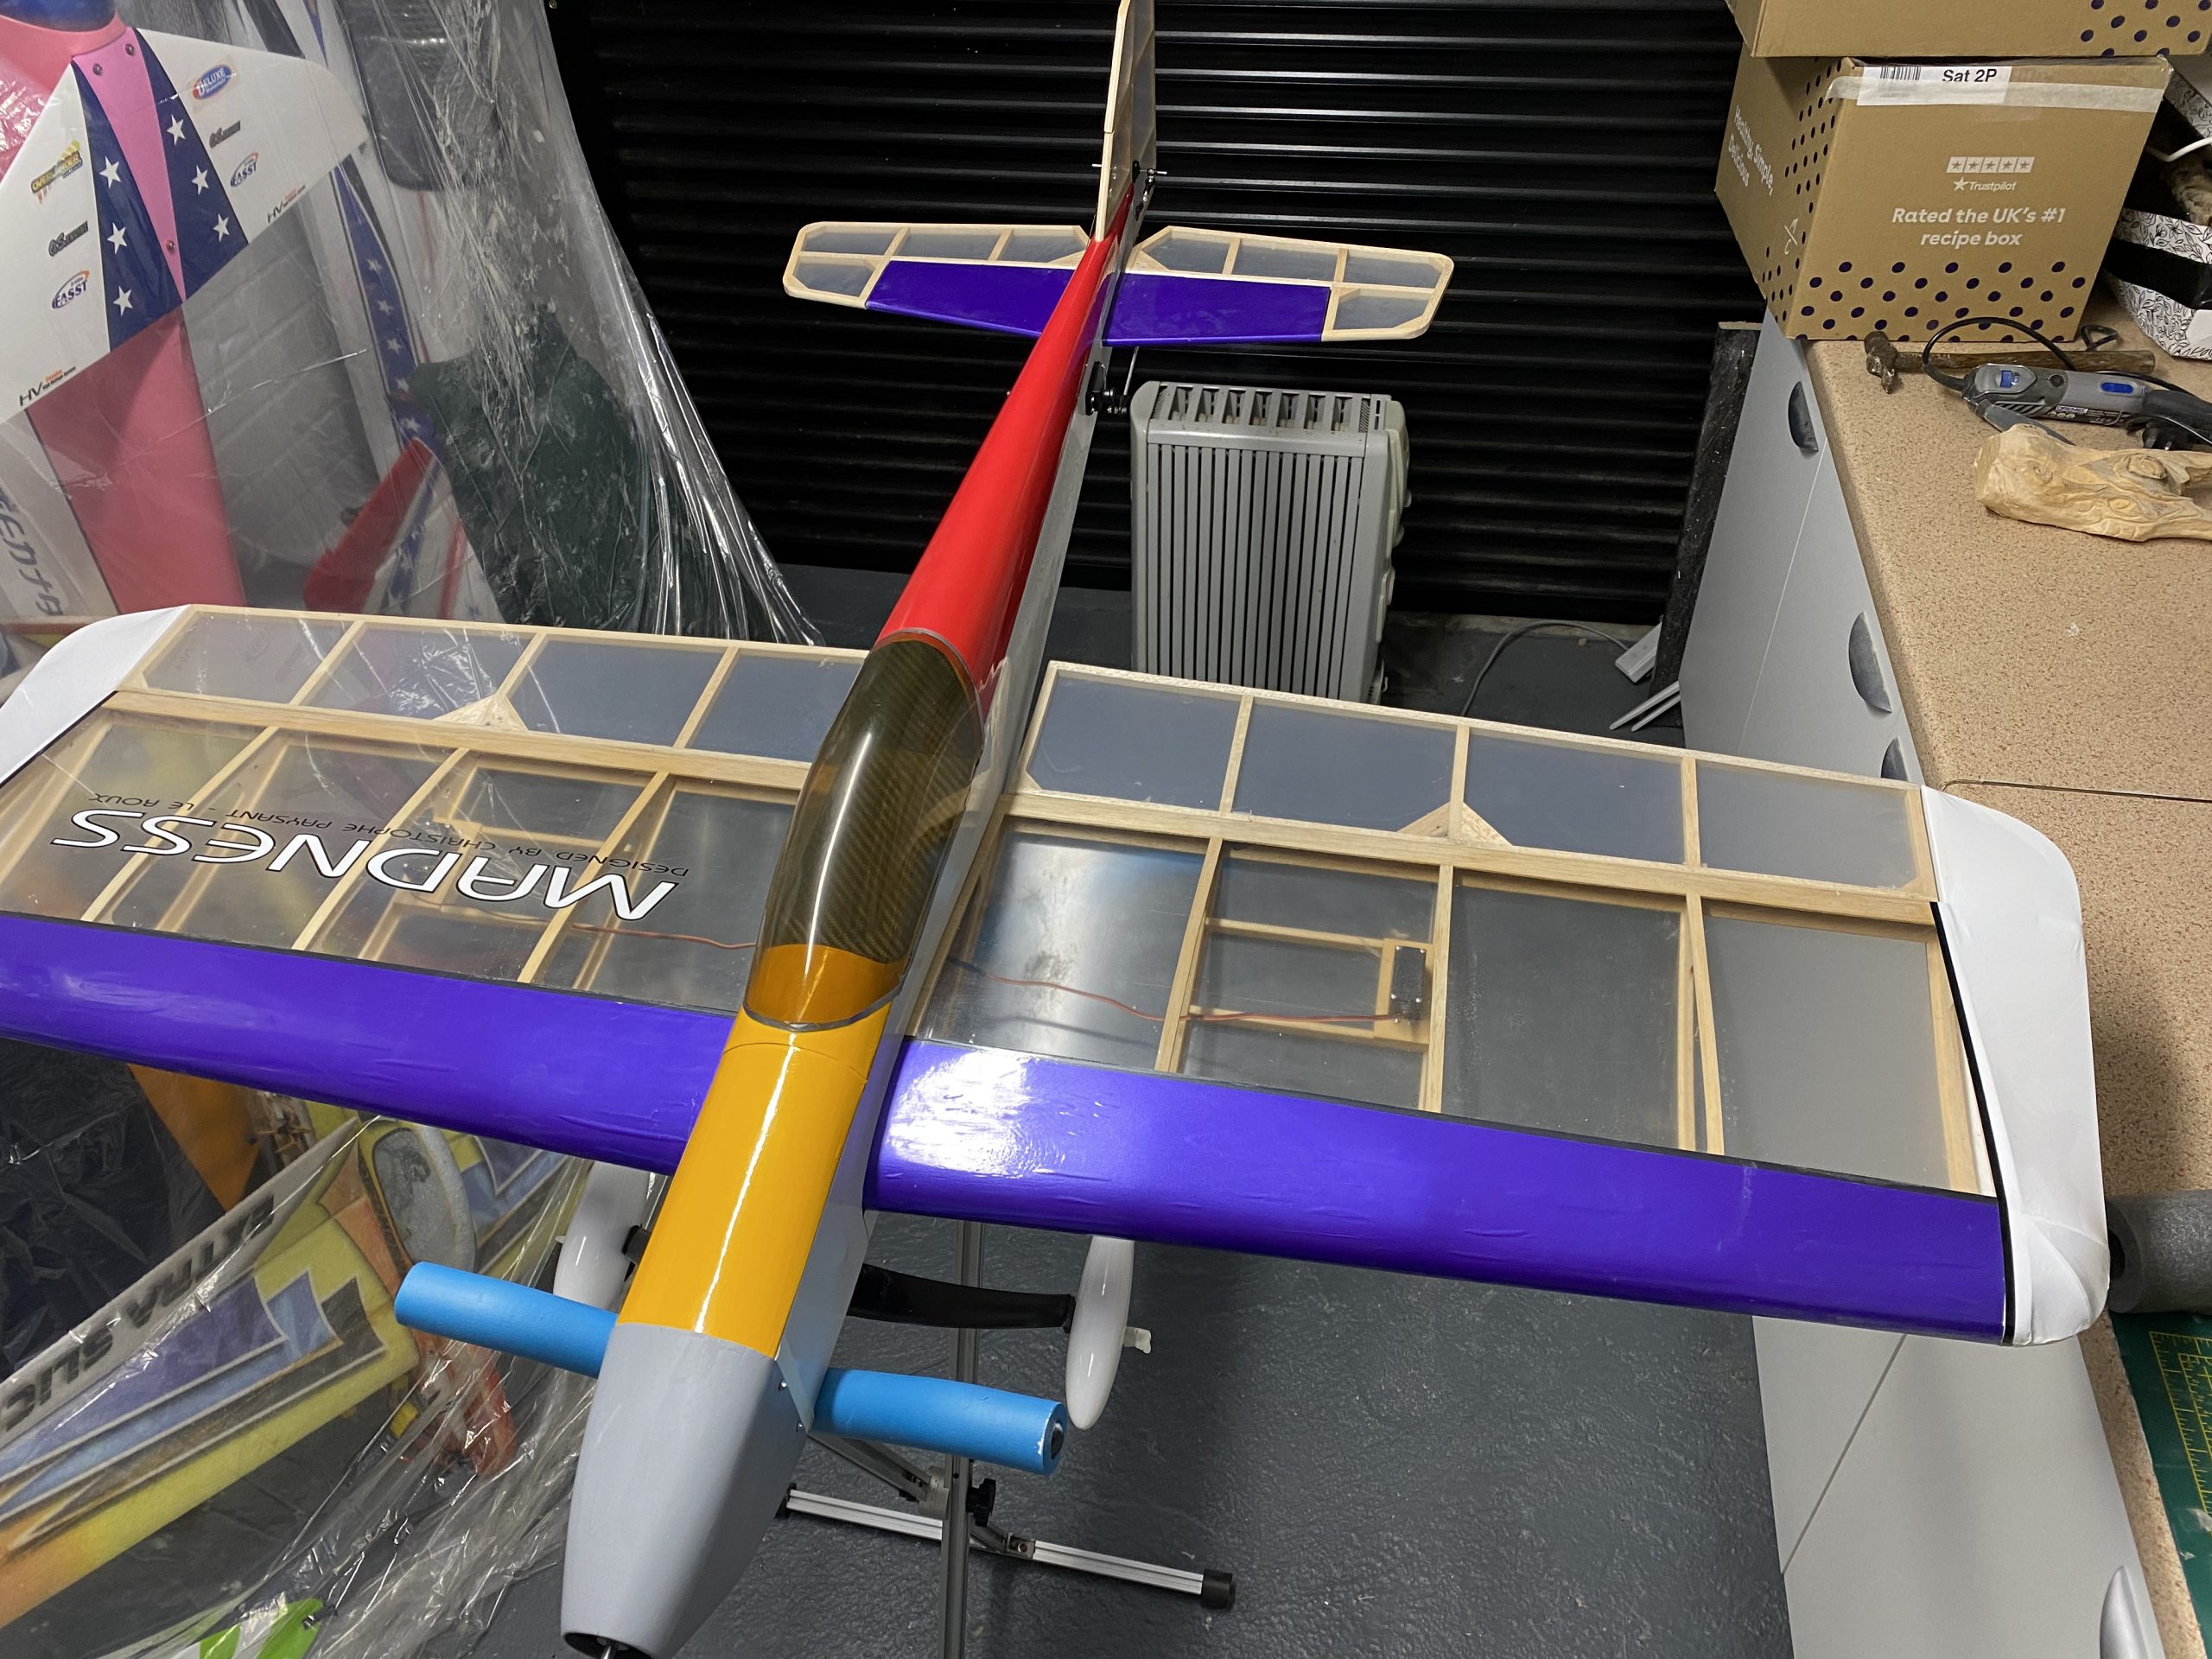
First off lets mask off the area were we do want to repaint and looking forward to seeing the application of clear that will cover the repair and also the old paint.
Once masked we can rub down the high spots of glue etc, and get a flat back on the model.
I use a small tungsten block machined flat so its very heavy and flat with some 400 wet and dry wrapped around it, the weight of the block helps find the high spots very quick.
Experience comes into play now on how much you rub back on the fuselage you don’t want to rub through the fuselage skin this would put you back in the process of this repair.
When you are happy with the rubbing down flat, you may see some low spots that you may have to fill to pick up the level. A good quality car filler works great for this but use it sparingly more you put on more you have to rub off!! weight is an issue for F3a models so a little dab will do!!
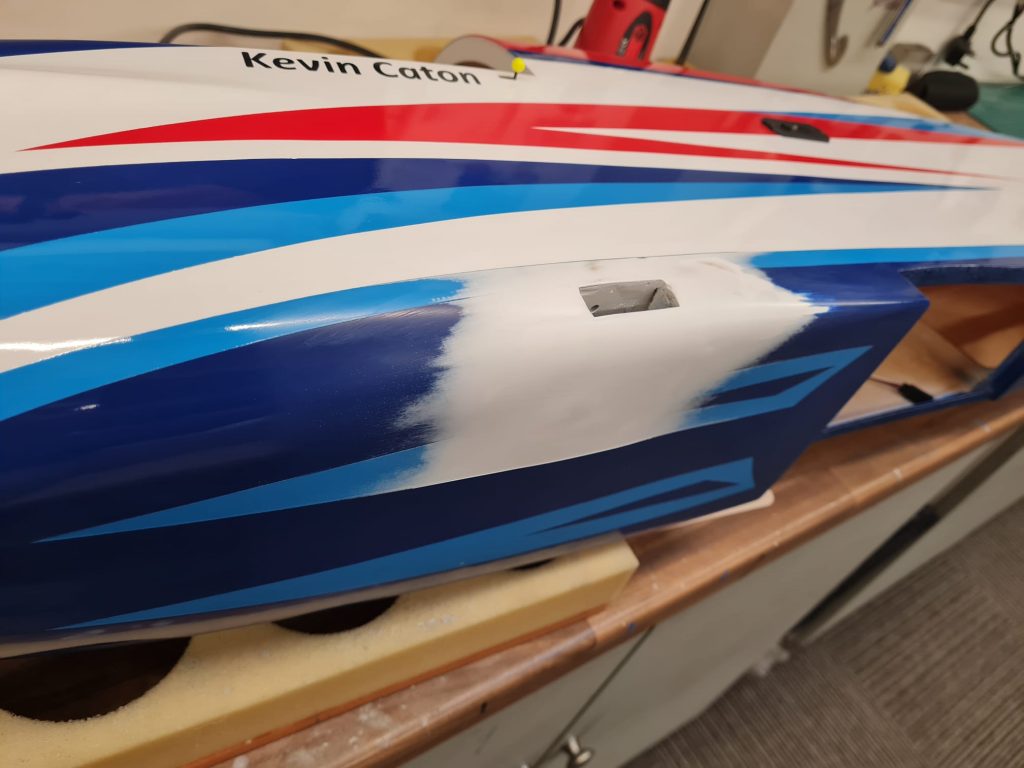
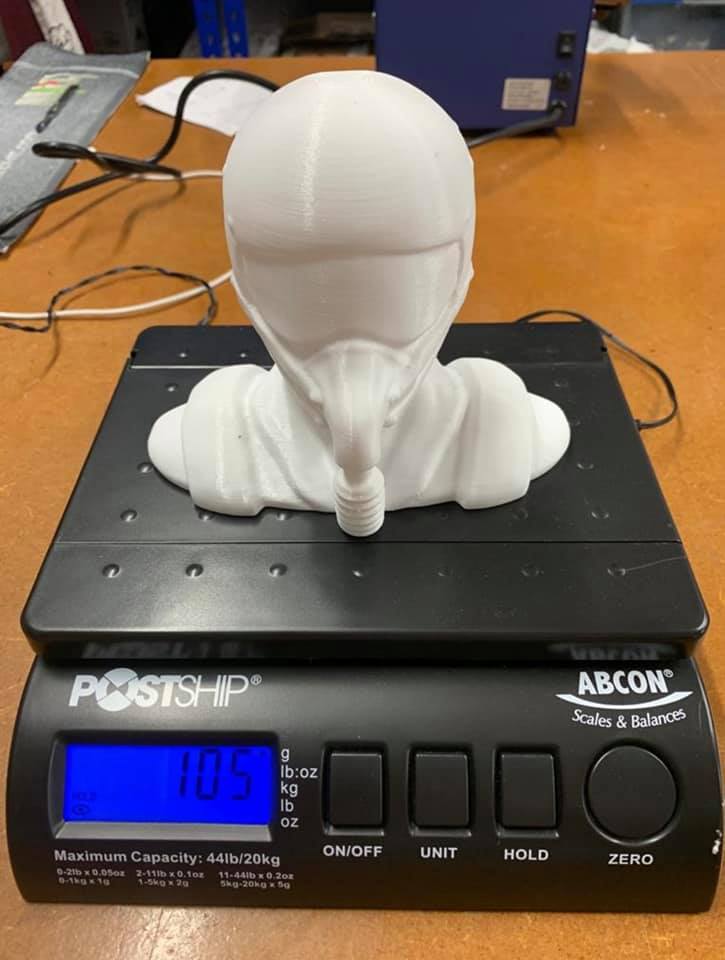
With the filler applied and the rub down complete you will have to apply a primer to really see how good or how bad the filler job has done. I use U-POLL filler from a rattle can is a great etch primer and dry super quick so you can work it within 15 minutes.
See the pictures of the white primer on the fuselage. When happy with the primer stage and how the repair is looking, we can now start with the colours. Light blue is the first colour to go on, always lightest colours first then darkest last , (it is the way !) quote MANDALORIAN……
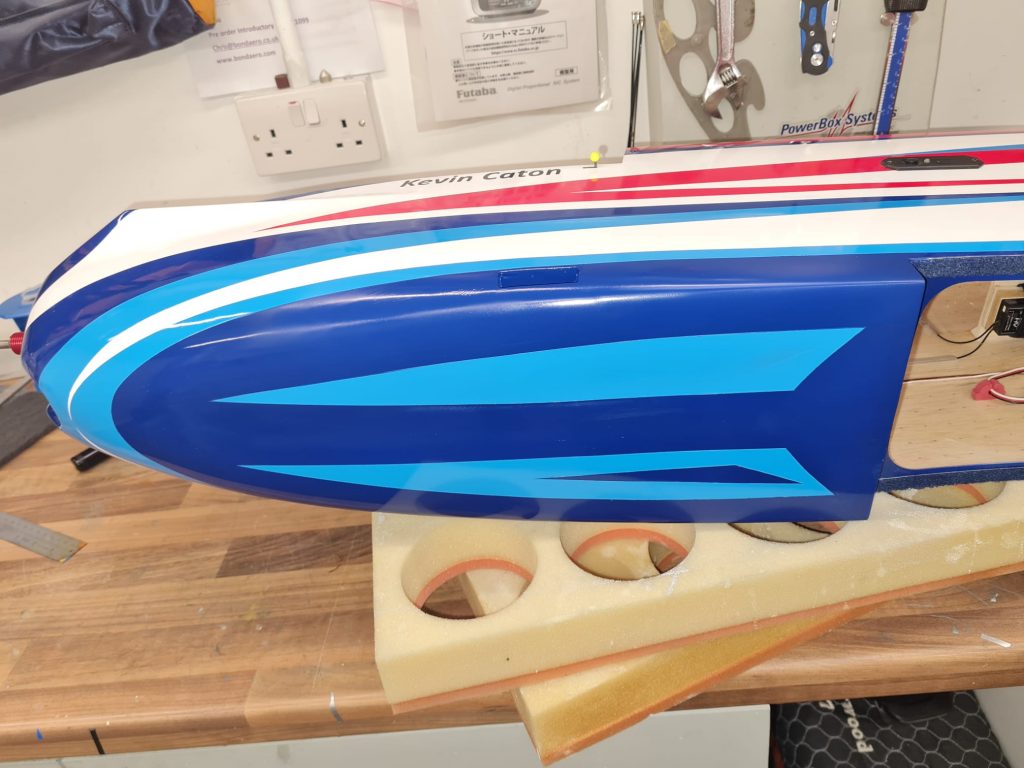
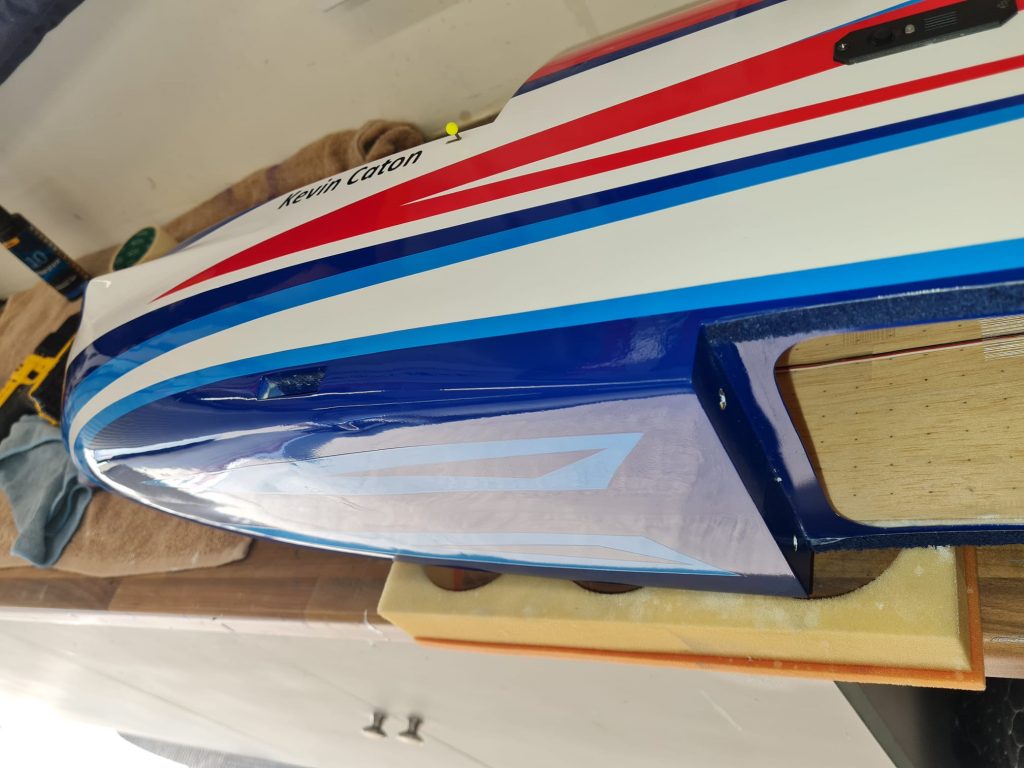
After the colours are applied with some careful masking off, you can now see how good the paint has been matched however it`s only after the clear coat goes on you can really see how good a match the paint is .
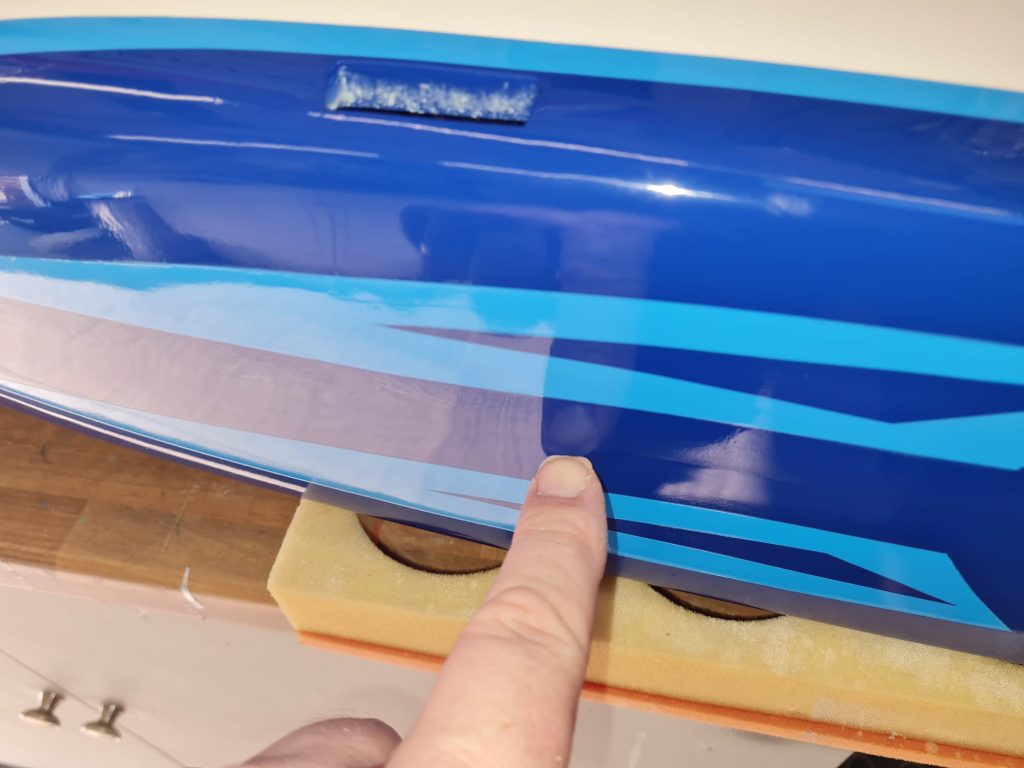
So the clear was applied over the colours and then the rub back with 1000 wet and dry and then 2000 followed by 3000 wet and dry. It now looks a matt appearance on the lacquer which is what we want this will high light and issues in the clear. When I was happy with the clear I buffed the lacquer with a compound as used on cars to bring the lacquer back and blend in the overspray of the clear. As you can see in the pictures it has worked fine and returned the model back to its former glory.
There is no quick fix in doing these jobs. This is the process that works every time. When it’s a customer’s model you want to give it back in the best possible condition. The trouble is when it goes back they do not see what goes into a repair of this kind, and some time puzzled by the cost.
Paint costs have gone up over the past year and custom paint mix’s have increased also. I personally like the challenge of these repairs and is very satisfying when complete.
Regards, Steve
0 Comments